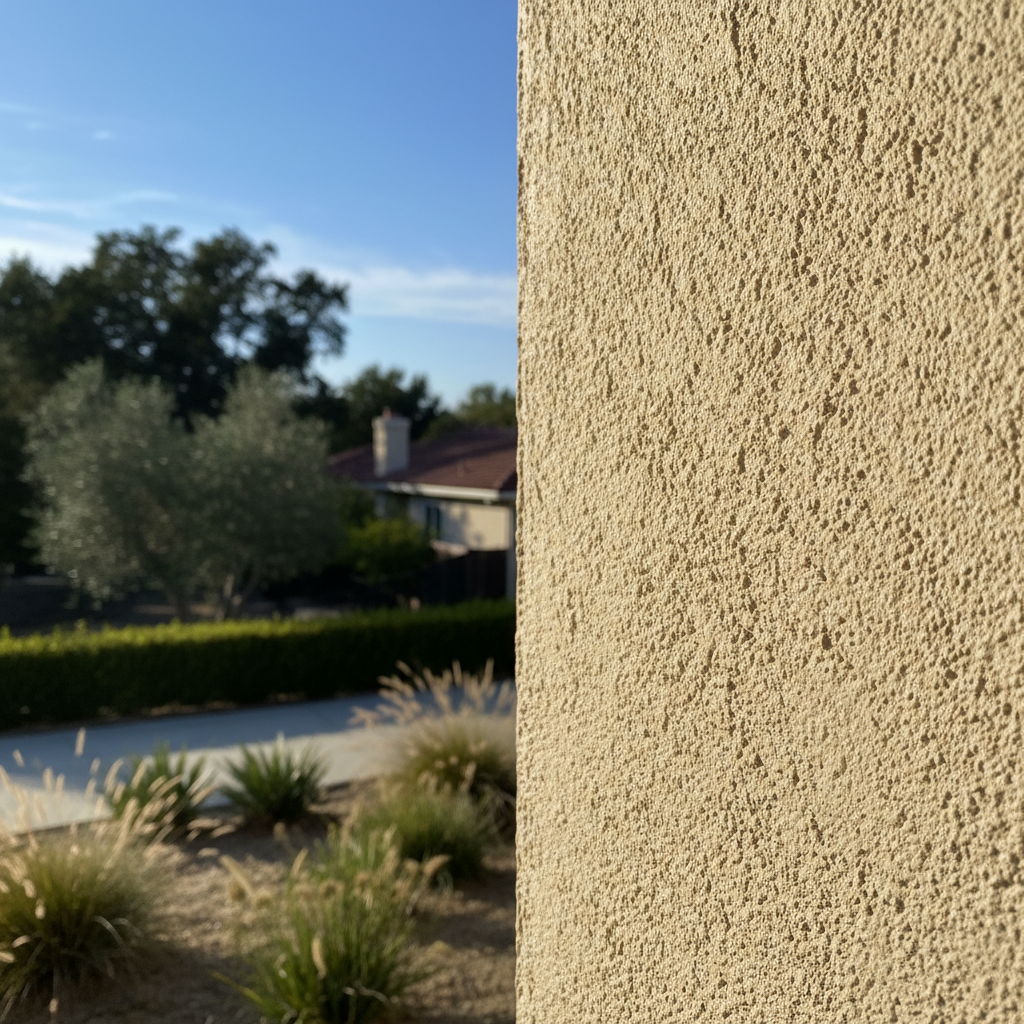
Before You Even Think About a Project: Your Initial Stucco Check
So, you've got stucco on your Atherton home. Maybe you're thinking about a repair, a repaint, or just wondering if it's all holding up okay. Good for you! The first step is always to take a good look around. You don't need to be a stucco expert to spot some red flags, but you *do* need to know what you're actually looking for.
Start with a walk-around. Get right up close to your walls. What's jumping out at you? Any visible cracks? Not all cracks are the same, you know. Hairline cracks, sometimes called spiderweb cracks, are pretty common, especially with our temperature swings here in the Bay Area. They're usually just in the finish coat and aren't a huge deal. But if you see cracks wider than a credit card, or if they're running horizontally or in a stair-step pattern — those are worth paying attention to. Those can mean something more serious is happening underneath, like structural movement or water getting in.
Look for discoloration too. Dark streaks, especially under windows, near rooflines, or around things like pipes and vents, often mean water is getting in and just sitting there. That's definitely not good. You might also spot efflorescence, which is that white, powdery stuff. That's minerals leaching out as water evaporates, another clear sign of moisture. Oh, and don't forget to check for any bulging or soft spots. Give the stucco a gentle tap in different areas. If it sounds hollow or feels squishy, that's a definite red flag.
Pay extra close attention to areas where different materials meet – like where the stucco touches your foundation, windows, doors, or trim. These are common entry points for water if the flashing or sealants aren't doing their job. Speaking of the foundation, make sure your stucco isn't touching the ground. You need at least a 6-inch gap between the bottom of the stucco and the soil. This is called the 'stucco weep screed' or 'stucco kick-out flashing' and it's super important for drainage and stopping moisture from wicking up into your walls. I see this issue a lot in older Atherton homes, especially where landscaping has built up over the years.
During a Project: What to Watch For
Okay, so you've found some issues and decided to bring in a pro for a repair or even a full re-stucco. Excellent! But your job isn't quite over. You need to be an active participant in the inspection process, even if you've hired the best crew in town (like Apex Stucco Solutions, if I do say so myself). You're the homeowner; it's your investment, after all.
First, if it's a repair, make sure they're doing a proper demolition. They shouldn't just patch over problems. If there's water damage, they need to remove all the compromised material, right down to the sheathing, and let it dry out completely. You should be able to see the framing and sheathing in the affected areas. If they're just cutting out a small square and slapping new stucco on, that's a shortcut that will cost you more down the road.
When they're putting new layers on, ask questions. What kind of weather barrier are they using? Is it properly lapped? Are they installing flashing around all windows and doors? Are they using weep screeds at the bottom? You don't have to be an expert on every little detail, but understanding the basics helps you ensure things are done right. A good contractor will be happy to explain each step. If they get defensive or vague, that's a red flag right there, wouldn't you say?
Watch how they apply the stucco. Are they putting it on in multiple coats? Stucco isn't a one-and-done deal. It needs a scratch coat, a brown coat, and then the finish coat. Each layer needs time to cure. If they're rushing it, that's a problem. Also, check the consistency of the mix. It should look uniform. If you see them adding too much water or it looks uneven, speak up.
After the Dust Settles: Your Post-Project Review
The job's done, the crew's packed up, and your house looks fantastic. Don't just sign off and forget about it. Do another thorough inspection. This is your chance to make sure everything is exactly as it should be before final payment.
Walk around the entire house again. Look at the new stucco. Is the color consistent? Is the texture uniform? Are there any visible cracks in the new work? A few tiny hairline cracks might appear as it cures, but anything significant means there's an issue. Check all the edges and transitions. Is the stucco neatly finished where it meets windows, doors, and other materials? There shouldn't be any sloppy edges or gaps.
Critically, look at the flashing and weep screeds. Are they properly installed and visible? Is there still that crucial gap between the bottom of the stucco and the ground? Make sure all penetrations – like dryer vents, outdoor faucets, and electrical conduits – are properly sealed and flashed. Water is sneaky; it will find the smallest opening.
Finally, test your sprinklers. Make sure they aren't spraying directly onto the new stucco. Constant moisture from irrigation systems is a common cause of stucco failure, especially in areas like Atherton where we value our lush landscaping. Adjust them if necessary. If you've got any concerns, don't hesitate to bring them up with your contractor. A reputable company will stand by their work and address any legitimate issues. You've invested in your home; make sure that investment is solid.